Getting Started: Things to know before you take that dive into DIY self portrait content creation.
DIY Self-portrait photography has become a popular content creation method, offering convenience and accessibility. With social media at its peak and the need for incentivizing personal branding for jobs and the labor force, taking high-quality self-portraits has become an important skill for many of us in the content creator world.
In this article, we will explore the benefits of self-portrait photography, as well as provide tips and tricks for taking the perfect self-portrait using only your iPhone.
- Getting Started: Things to know before you take that dive into DIY self portrait content creation.
- Benefits of DIY’ing your self portrait photoshoot.
- Tools to get started.
- DIY Editing your self-portraits
Benefits of DIY’ing your self portrait photoshoot.
- Convenient: You can schedule a self-portrait at any time, without the necessity to coordinate with anyone else.
- Select your personal angles: You have complete control over the angle and positioning of the camera, allowing you to capture your best features.
- Less awkward: Taking self-portraits can be less awkward than asking someone else to take your photo.
Tools to get started:
You only need one thing- but, if you really want to take your self-portrait to the next level, keep reading!
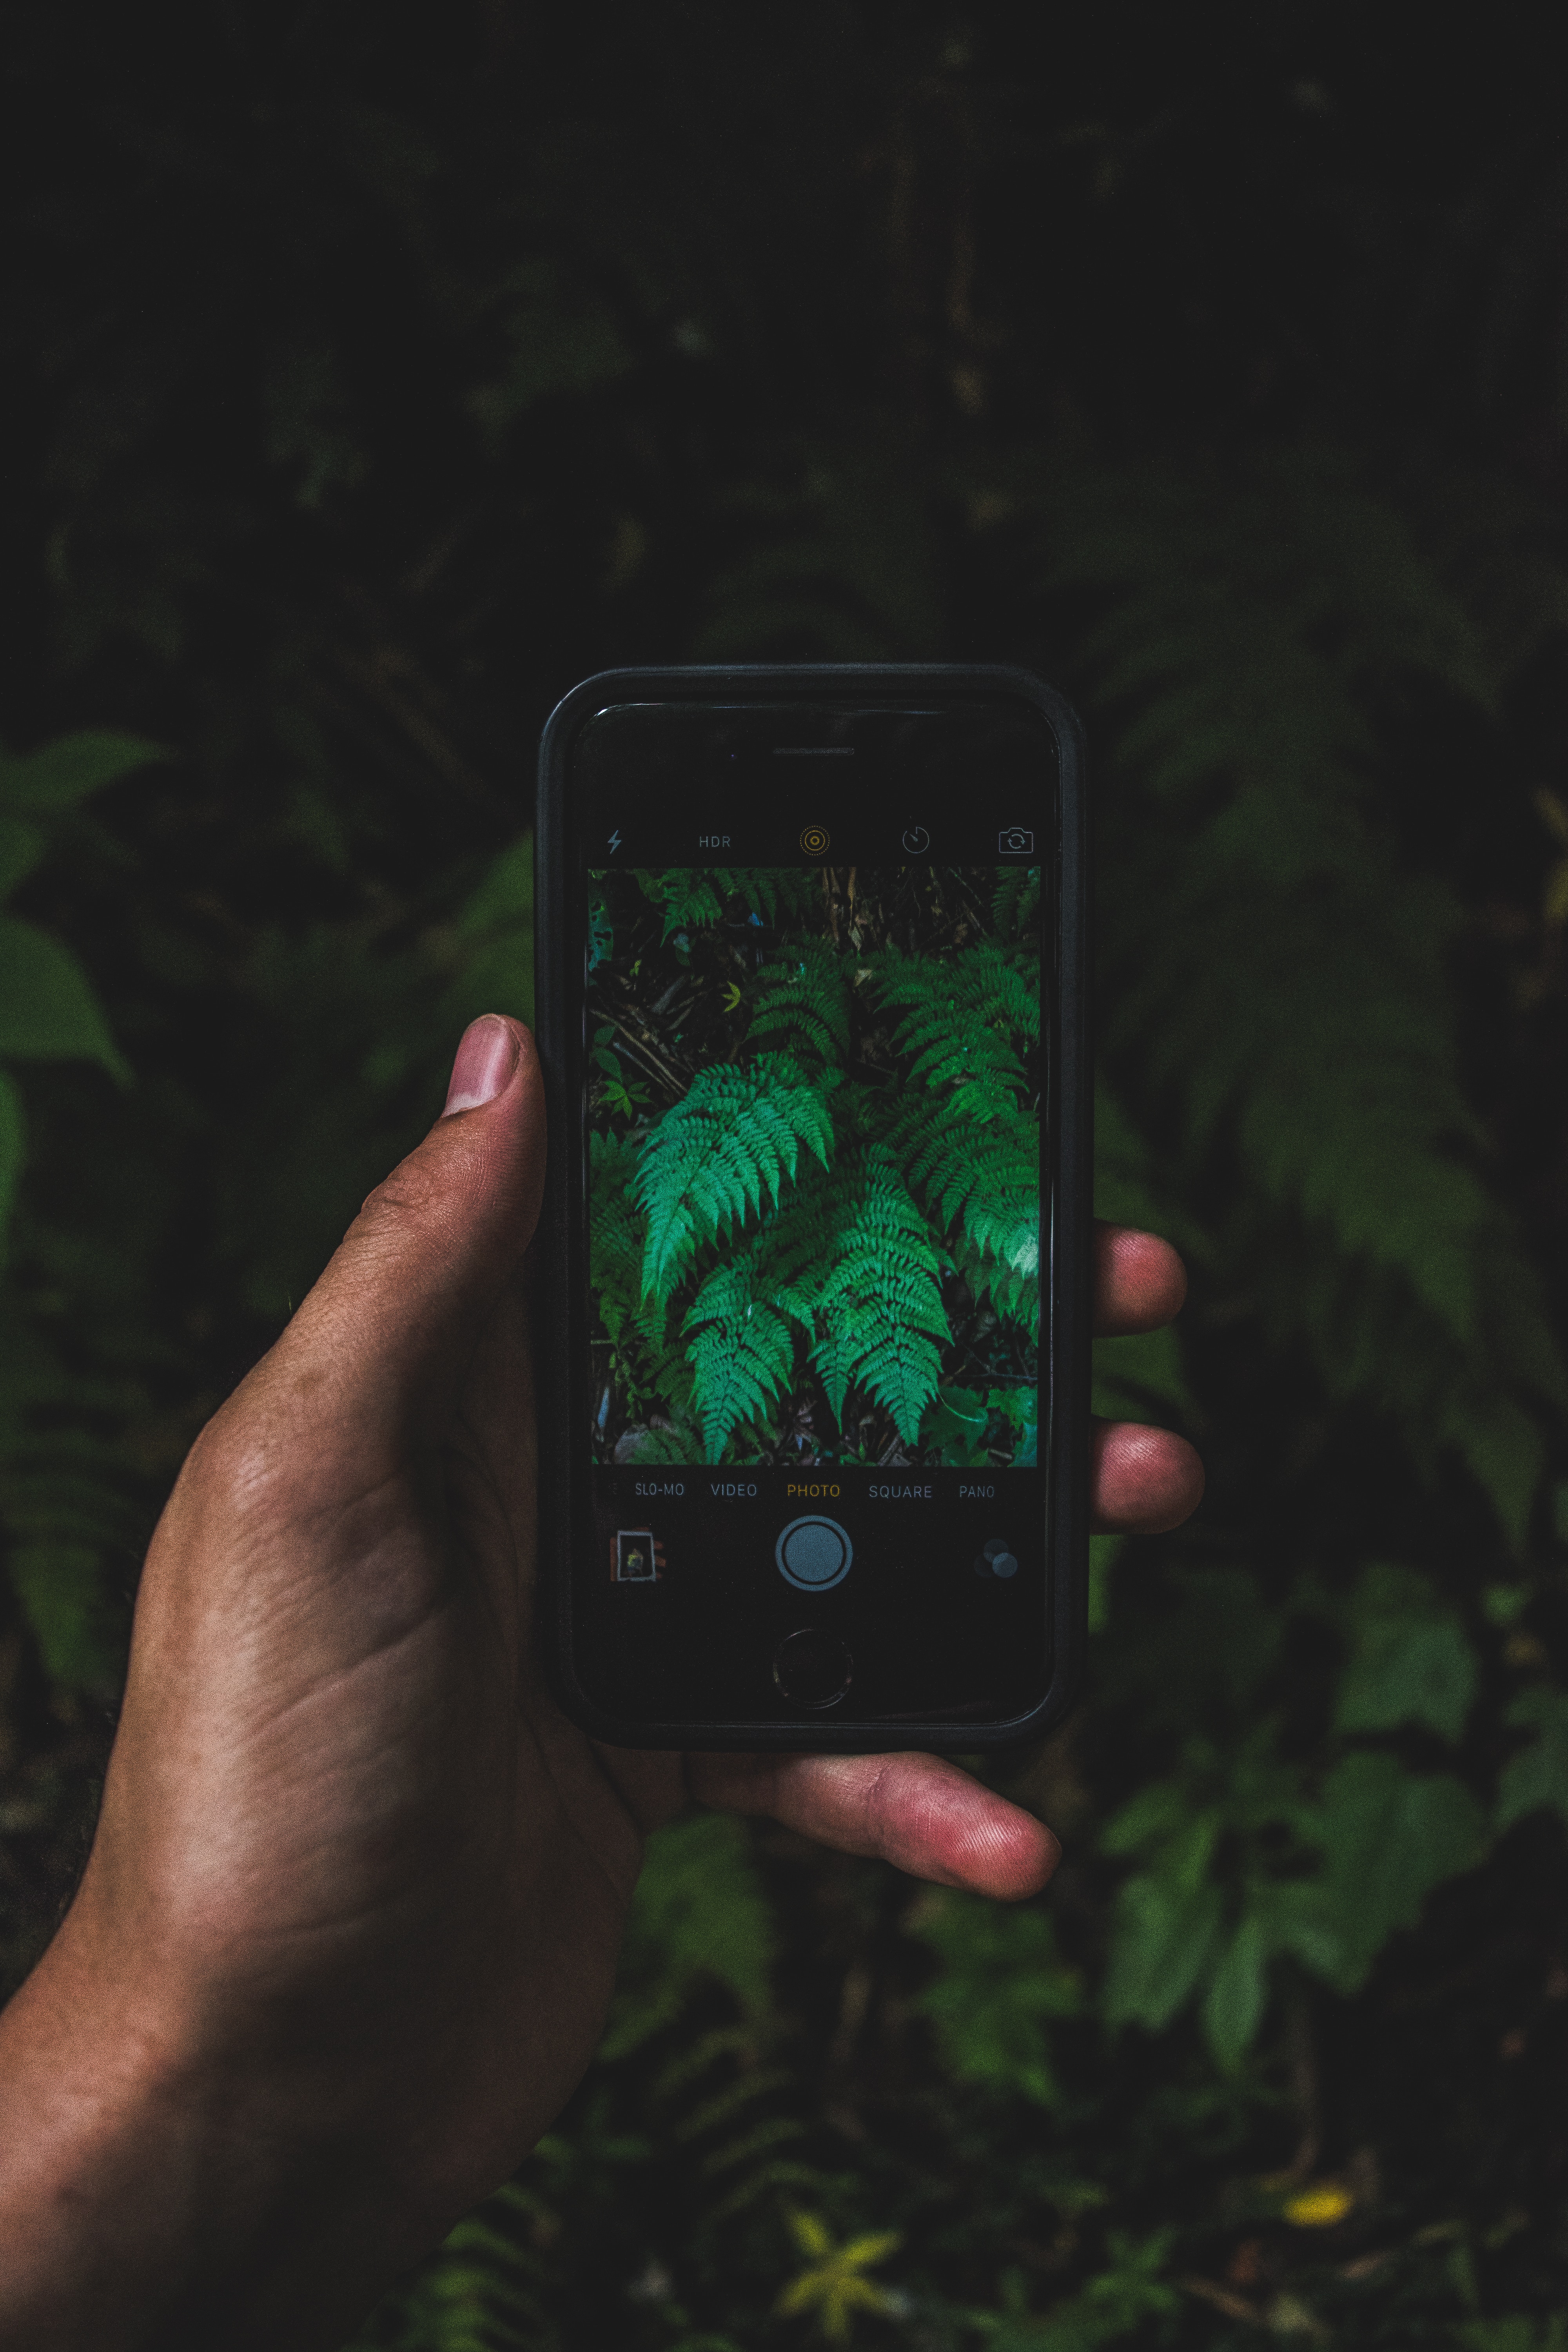
Use your iPhone
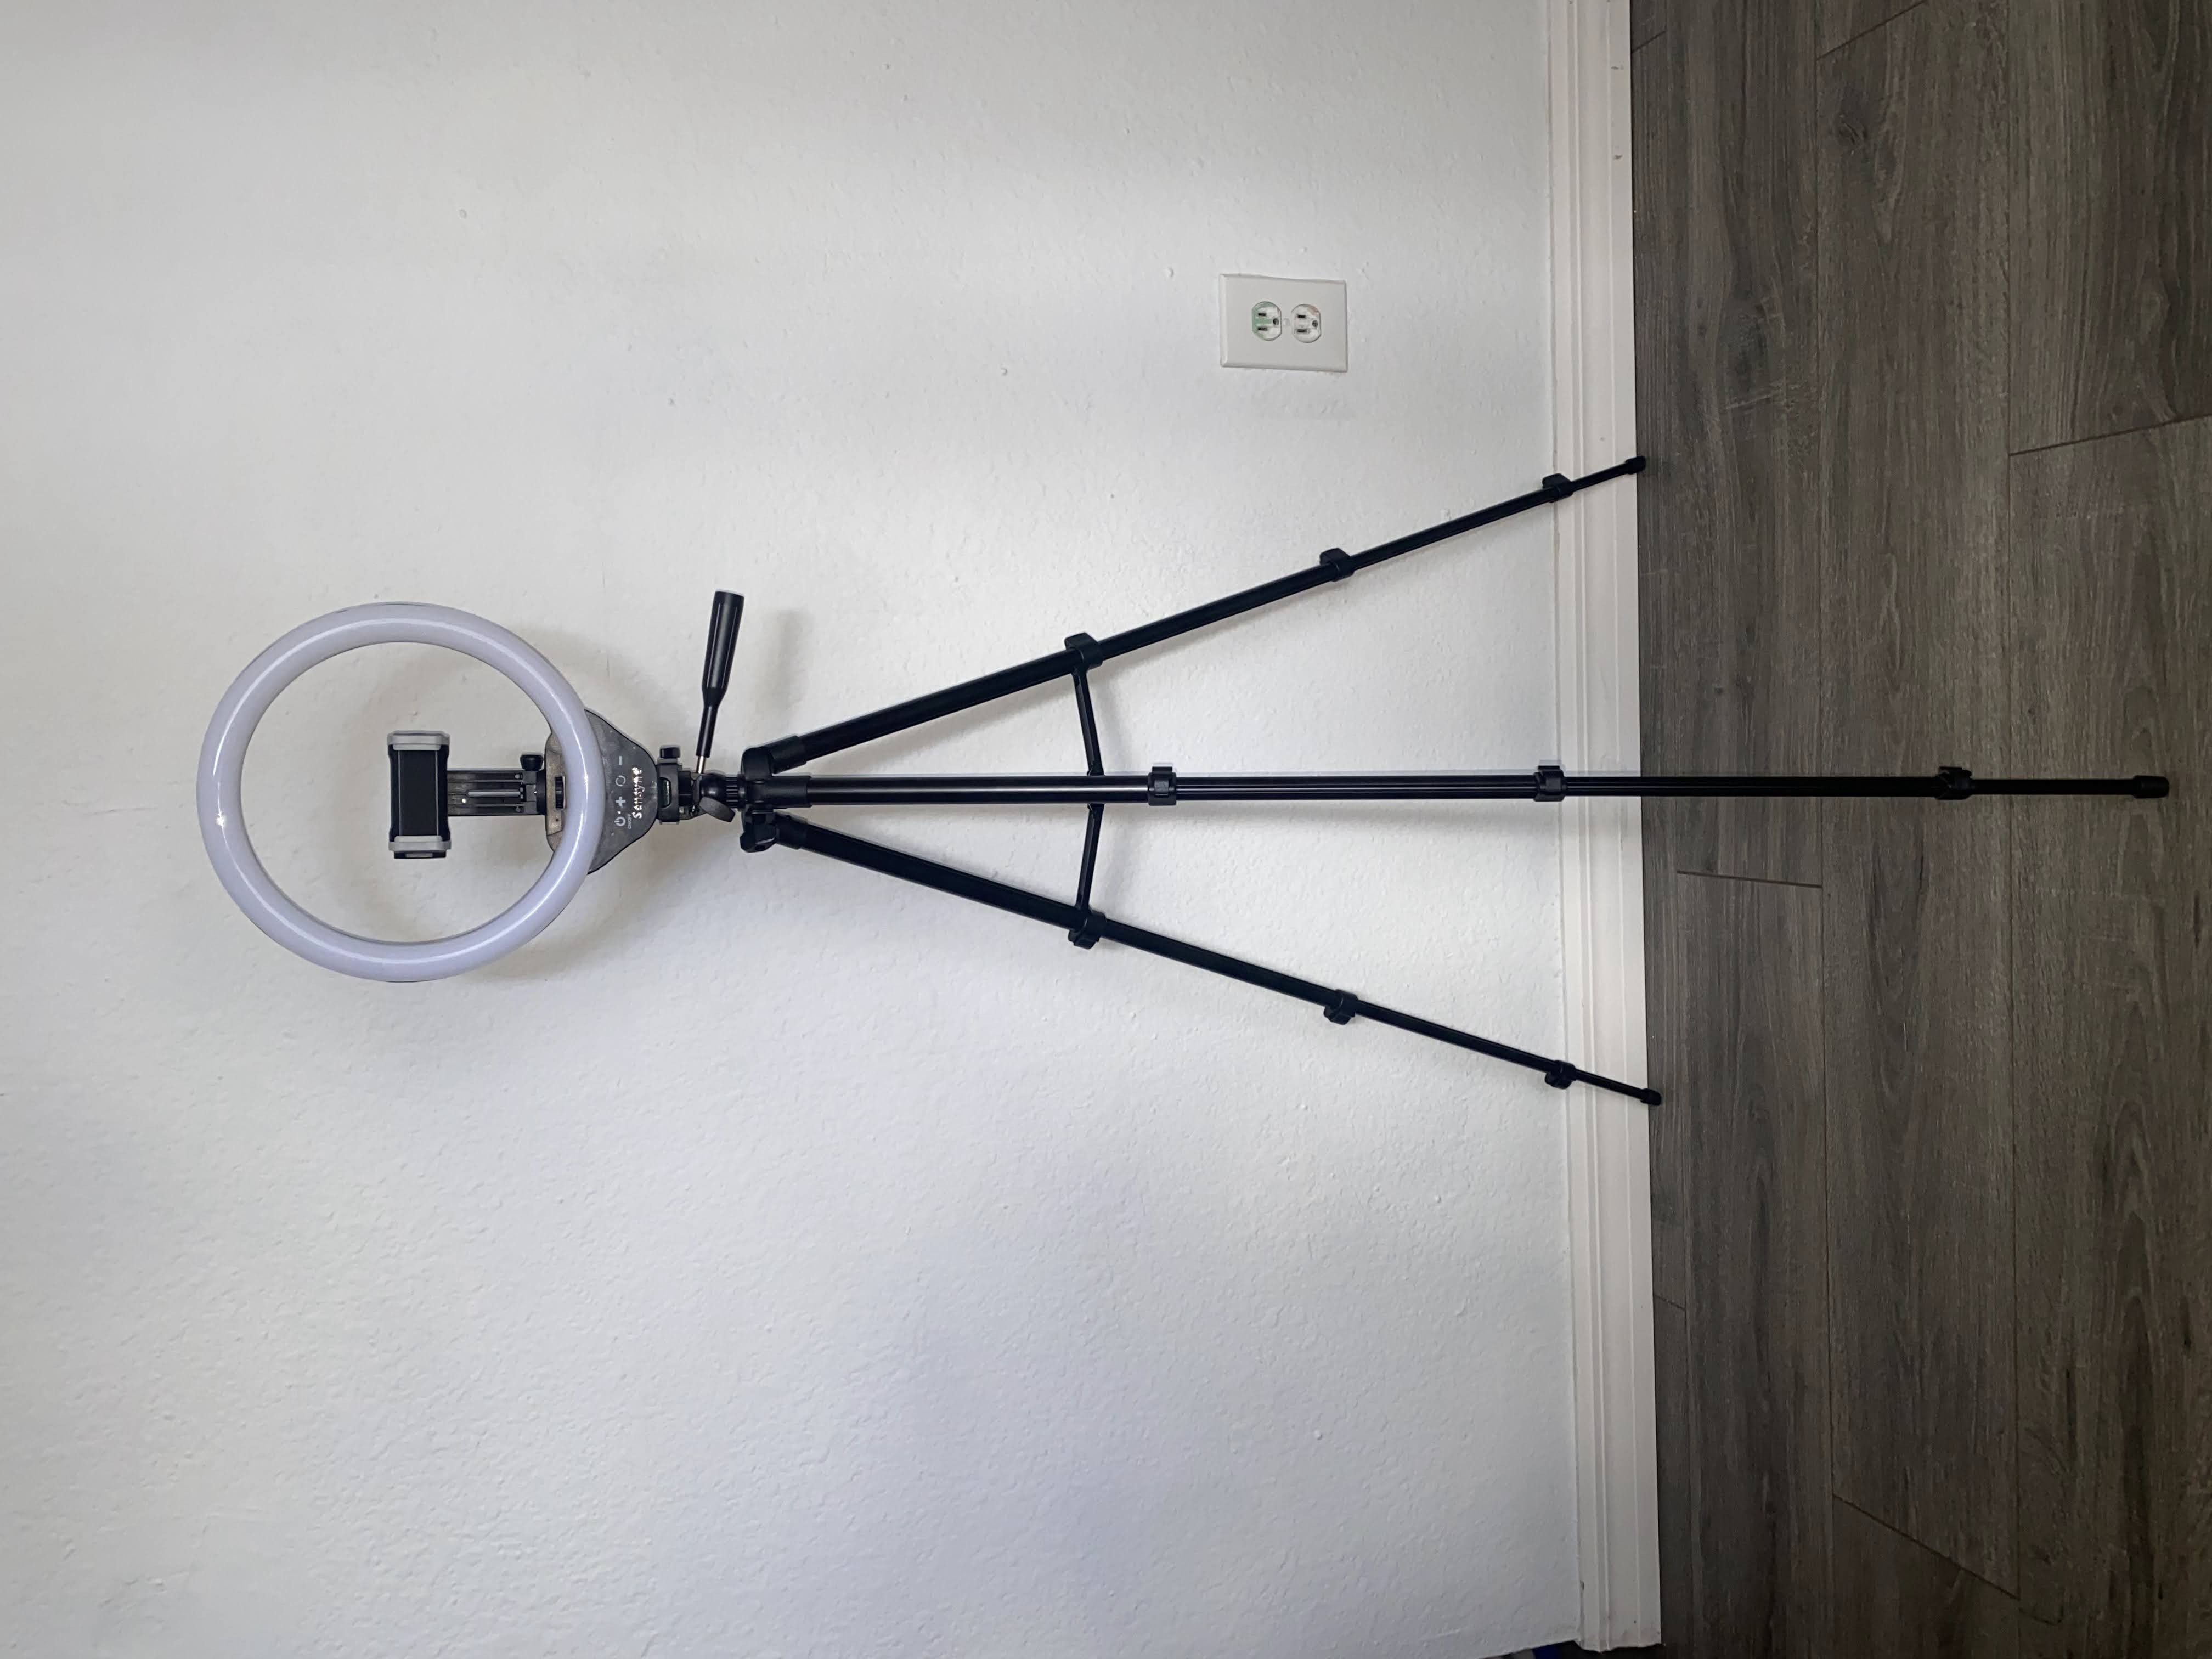
A Tripod Stand
iPhone: I suggest using an iPhone that is 11 Plus and up! That way, your photos have a crisper, professional look. The higher caliber cellphone camera you have, the less editing you’ll have to do for any impurities in the photo.
Tripod: This is the Optional step, but purchasing a tripod was a super convenient way for me to always have a portable set-up. I remember having to prop up my phone on tons of different items, just to get the desired positioning. The Tripod I use is the Sensyne 12′ Ring light. It comes with a bluetooth clicker so that you can take images from a distance! I purchased mine on Amazon Marketplace for $35.99 USD!
Lighting, Camera position, Setup
Natural light is the perfect option for self-portraits, as it provides an even toned lighting without harsh shadows. I recommend positioning yourself facing a window to generate that soft, portrait-like effect.
Also, If you’re going to take photos indoors, I suggest turning off any artificial lights because it can make features appear more pronounced and certain artificial lighting colors can cast harsh shadows.
If you don’t have access to natural light, you can create your own lighting setup using the Sensyne 12’ Ring light! As long as you place your light source(s) close enough to light up your entire face, you’ll be able to create even-toned lighting.
It’s also a good practice to make sure the light is softer or further away from your face to diffuse anyharsh shadows.
💡 Pro Tip!
Next, make sure to choose your angle. You can find your angle by experimenting with different locations, positions, distances, tripod heights and angles. For example, if you hold the camera slightly above eye level, it can help elongate your neck and make your face appear slimmer.
iPhone Camera settings for self-portraits.
The iPhone has a number of camera settings that can help improve your diy self-portrait photography. The Portrait mode on newer iPhones is particularly useful, as it creates a blurred background effect that can make you stand out, before edits. You can also adjust the exposure, focus, and white balance manually to get the perfect shot.
DIY Editing your self-portraits.
Now that you’ve taken your pictures; we can’t forget that self-portraiture has a particular look. The faces are often minimally edited to be softer, but still keeping detail. Certain features are enhanced, like the eyes, to bring out emotion from the eye contact. Lastly, certain filters can change the overall atmosphere of the photo by creating a cohesive overlay over the subjects foreground and the background, while emphasizing select colors for vibrancy.
So, how does one begin with editing? I’ve got a personal case study here for you!
Case Study.
Here are the shots that I took of myself to work with!
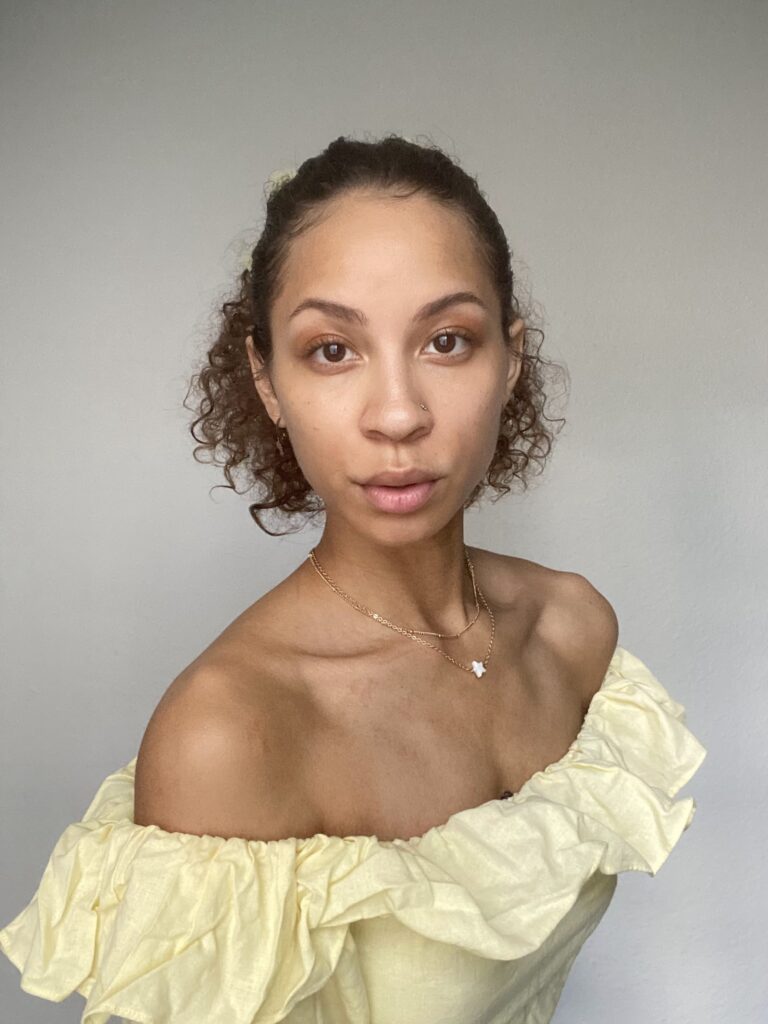
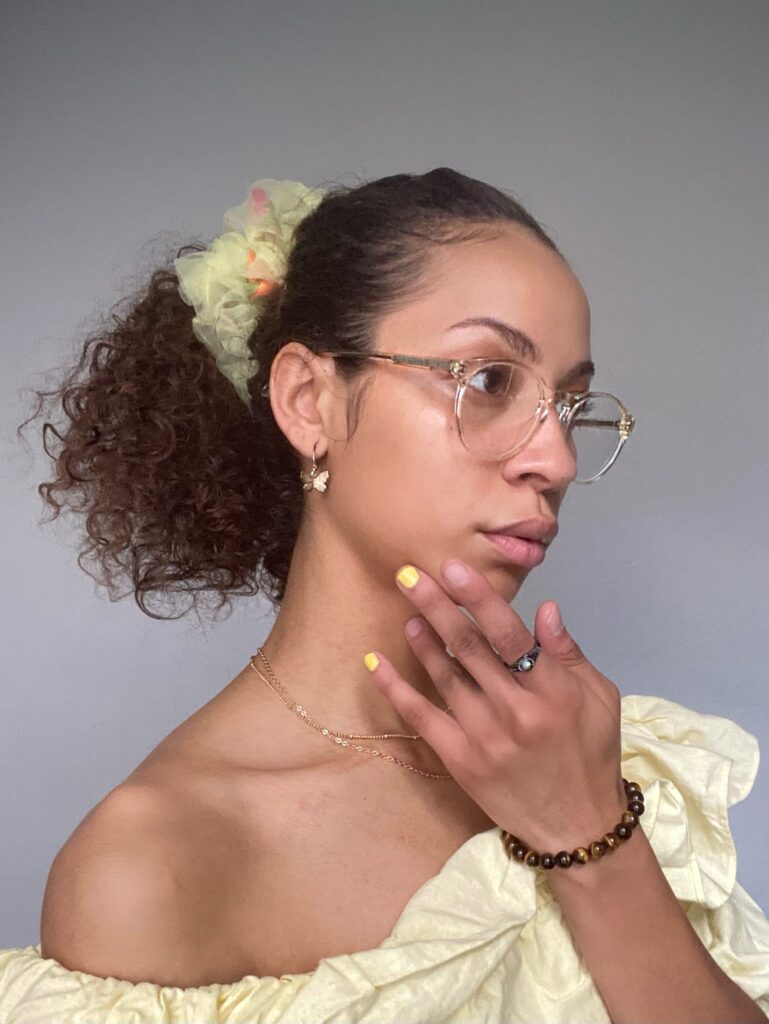
Both of these photos are unedited. Notice the dulled out, overlay. There isn’t much visible detail just yet.
Observe the color differences so that you can see how I experiment with the colors and textures.
Step 1: Enhancing the images to bring out the detail.
Unless you’re going for a softer look, you’ll want to work out some of the loss in detail that happens when photos compress, or if your lighting wasn’t the best.
In this Case Study, the weather was outcast, so you’re going to see a lot of grays, dulled colors and duller shadows.
We’ll compare these two images.

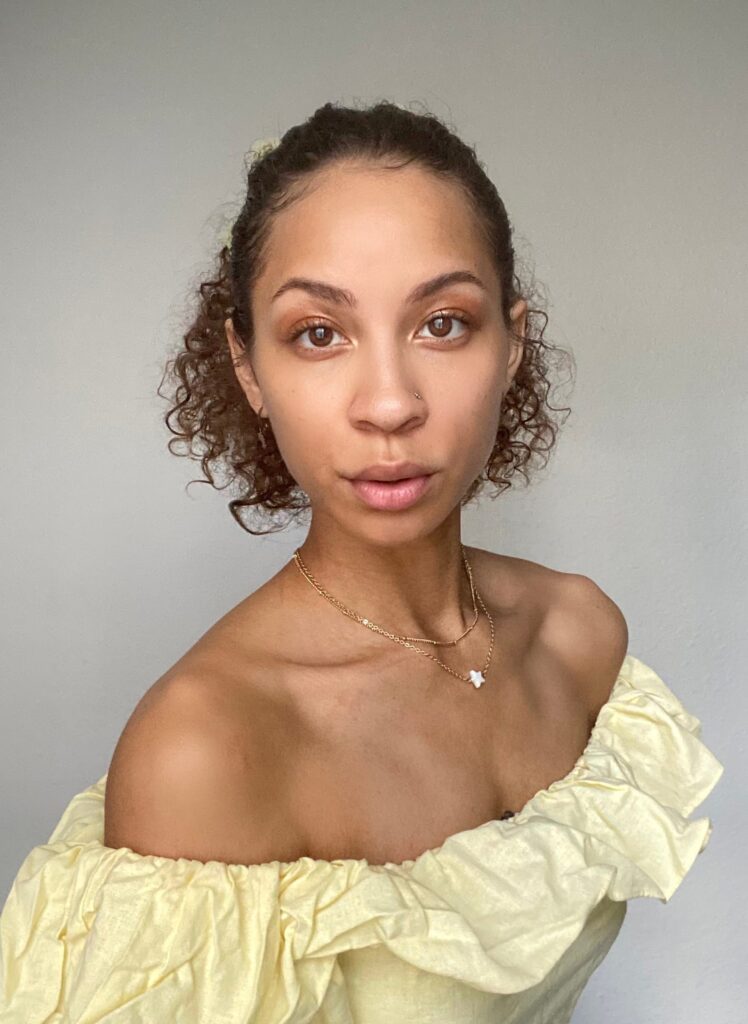
This is the original photo, no edits. You can notice uneveness in colrs across the photo as well as light detail.
In the edited photo, You’re able to see a lot of the colors in the skin tone, lips and eyes pop. A crop was also added to bring in the subject.
Now, you can totally stop here if you want to, but I’m fancy and want to really deep dive into these colors.
Step 2: Selecting a dominant color and adjusting colors of the portrait for vibrancy.
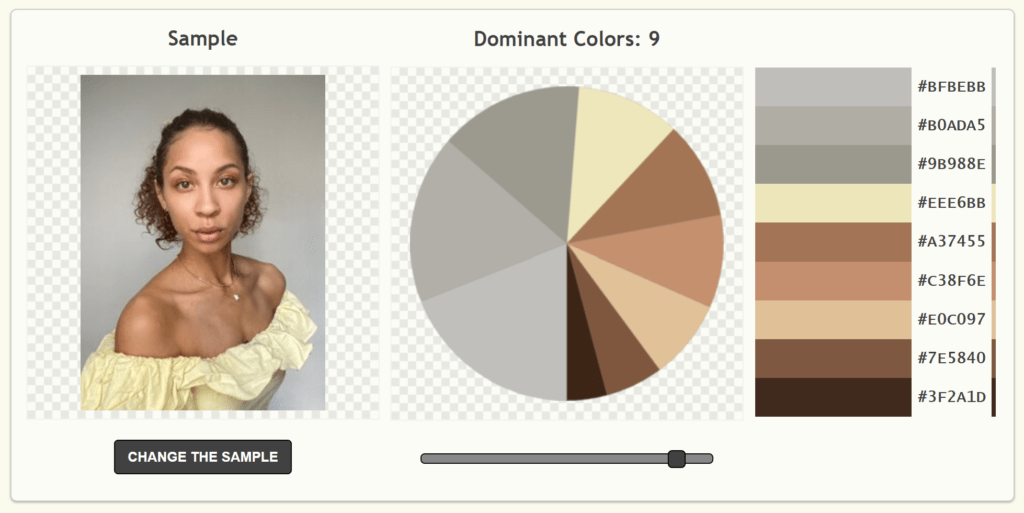
I used Palette Generator to pull a color theme swatch from my portrait.
I loved these gray blues [#BFBEBB, #B0ADA5, #9B988E] and knew I had to emphasize those undertones to contrast with the neutral brown and tan-yellow tones. It’s important to select a dominant color from the portrait. This can help you determine what type of adjustments you will need to make to enhance the colors.
Step 3: Editing your portrait to have that signature professional portraiture look.
This is where it gets juicy! Now, we’re hopping into PicsArt to start editing our photo. I love PicsArt because it has a variety of free filters and adjustment layers to create a stunning photo edit. You can tell all your friends you tried this diy self portrait photography guide!

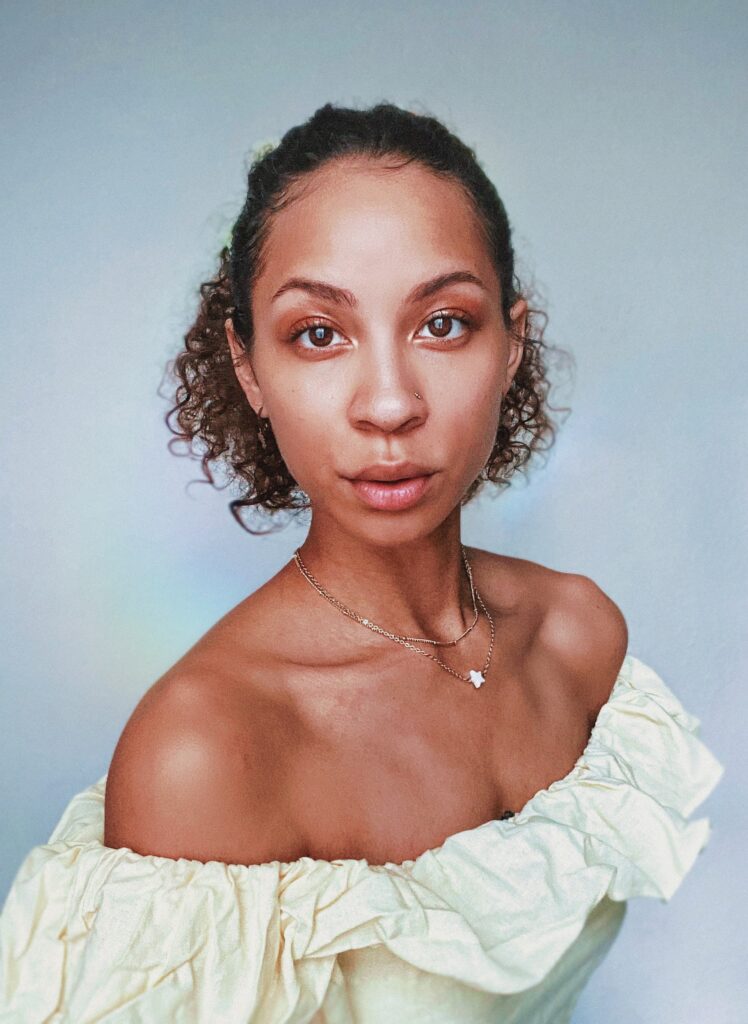
In the edit, I wanted to bring our some of the warm colors to really contrast with the background. I added a T1 filter to bring out the blues in those grays. The tan-yellow dress has been toned out to fade more into the background so that your portrait subject skin pops.

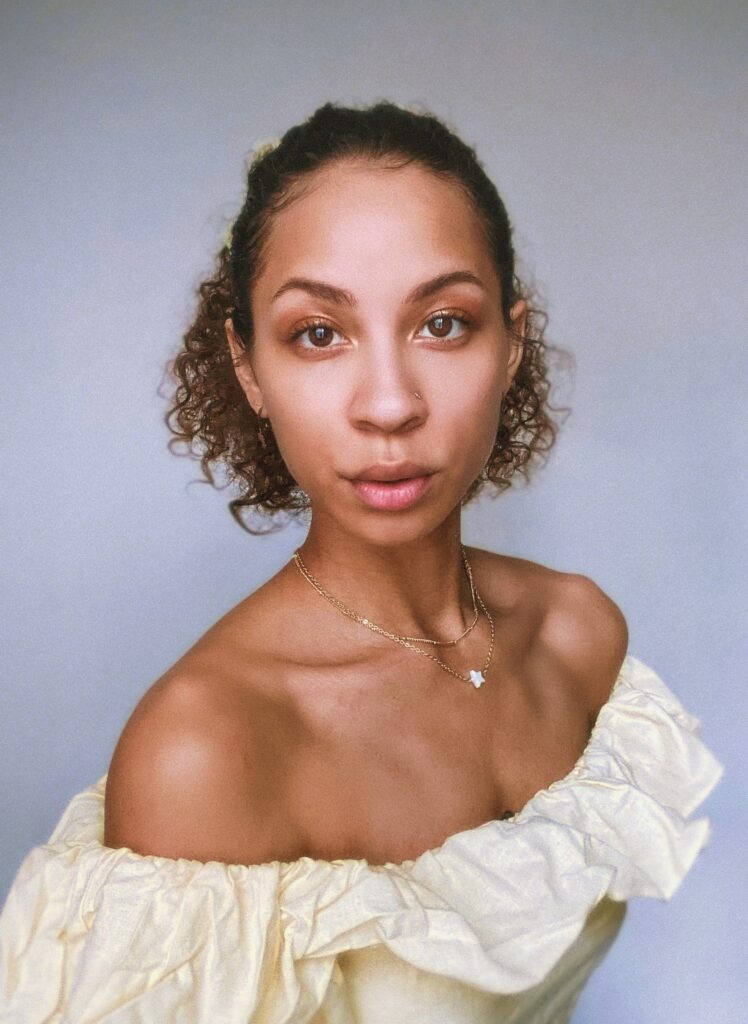
You can also add a vintage look to your photo by softening the picture and deepening the blue lavenders that are naturally present in the portrait. In this instance, I added a VIN that created a faded, soft-like look and creates a luxurious feel to the emotion and atmosphere of this portrait.
Step 4: Adding adjustments and filters to your self portrait for editorial purposes.
The above self-portrait guide is great if you need some professional headshots, or a new LinkedIn profile pic; but, if your goal is create a shot that is more editorial, and improve SSoV, then here is on last step.

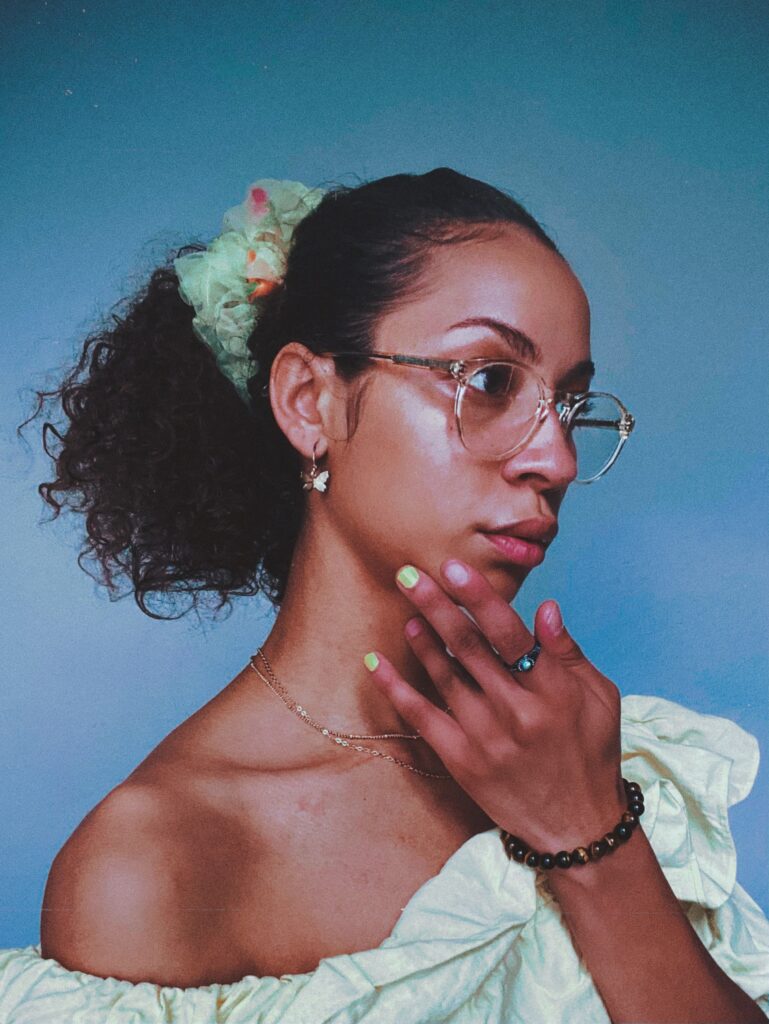
Following steps 1-3, we added a similar filter presence as the first Portrait. Our goal in this one is to make this feel more like an advertisement. Is this something you could see on an ad for jewelry or for an eyeglass store.
My favorite way to really amp up a portrait is to just add a mask! It’s easy and honestly, there are so many presets out there these days, you don’t even have to create your own!

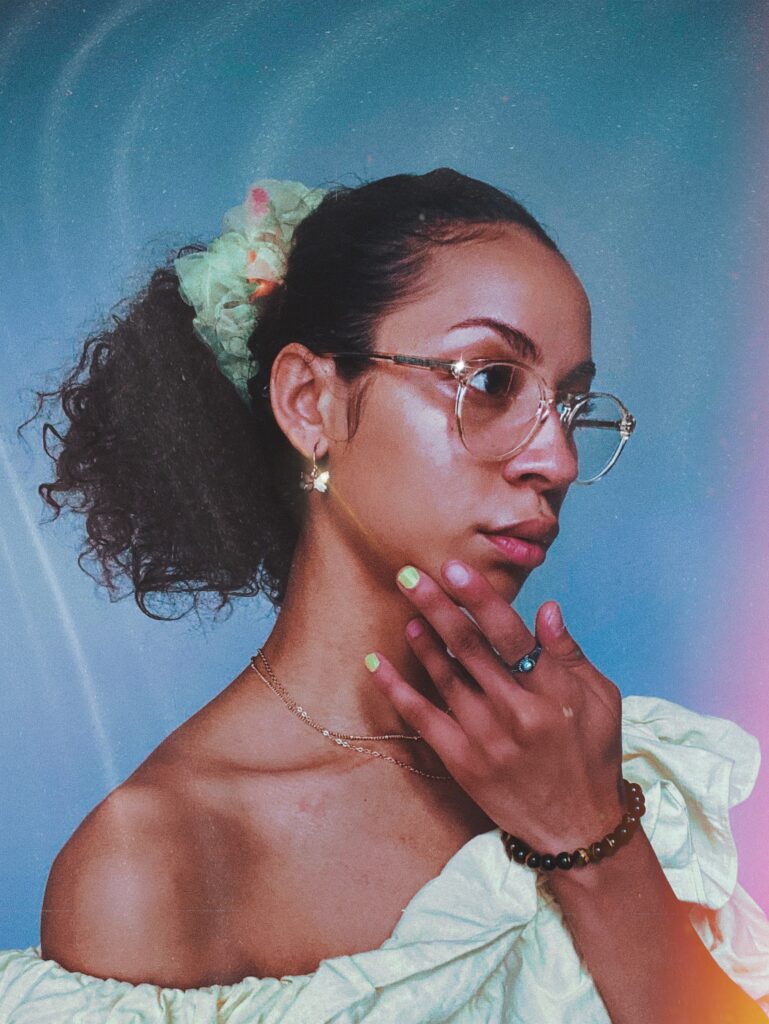
By adding two simple masks, you can literally create a portrait that is perfect for a content creator, for an advertisement or for a social media influencer post. No need to pay for edits, when all you need is your phone, a tripod and a couple of useful Apple applications!
Thanks for reading my case study on how you can do diy self portrait photography, straight from the comforts of your home!
Be sure to share! Thanks <3
